Having a dedicated home podcast studio has become a lot more popular (and necessary) over the last couple of years. The COVID-19 pandemic forced everyone into more remote, flexible working. And naturally, the world of podcasting adapted to it.
Setting one up is a good investment of time, and money. Once you’ve made the initial investment in equipment and sound treatment options, you’ll be able to get great-quality recordings from home, whenever you need them.
This article will take you through what you need to think about when choosing the right room, which equipment to buy, and how to actually set it all up.

Book Your Next Podcast Guest the Easy Way
With more than 70,000 members, MatchMaker.fm is the largest online community connecting podcasters & guests.
Join MatchMaker todayChoosing the Right Room In Your House
One of the first steps in setting up a home studio is deciding which room to use. It needs to be somewhere quiet, with minimal background noise or distractions. And that includes loud appliances, household chatter, and general street traffic.
Rooms with carpet and soft furniture are typically best, like a living room for example. This is because fabric helps to drown out echo and reverb, making for a much higher sound quality.
We’d also recommend choosing a room away from windows, and one that doesn’t share any walls with neighbouring houses. Again this is mostly to avoid unwanted sounds, plus if you’re recording a video podcast, you don’t want viewers to be distracted by changes in natural lighting.
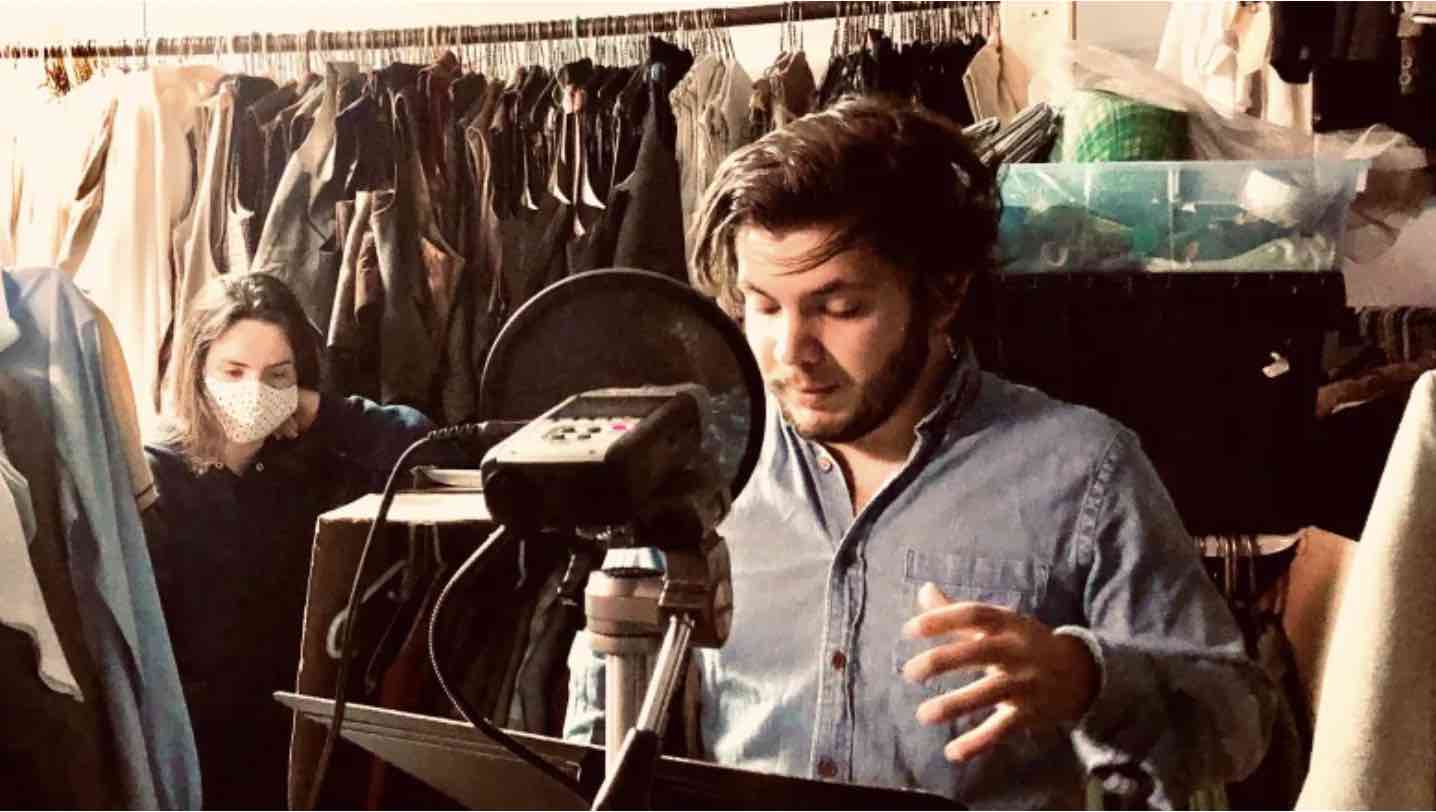
It’s worth pointing out that many podcasters record their shows in their wardrobes. If you’re wondering why, it’s all to do with acoustics. Smaller spaces (presumably filled with soft fabrics) will absorb echoes, leaving them with a better sound.
This isn’t the ideal scenario, however. You can’t squeeze several bits of professional equipment into a tiny wardrobe. So if you do have a decent-sized room to dedicate to an actual home podcast studio setup, doing so will always be the better option.
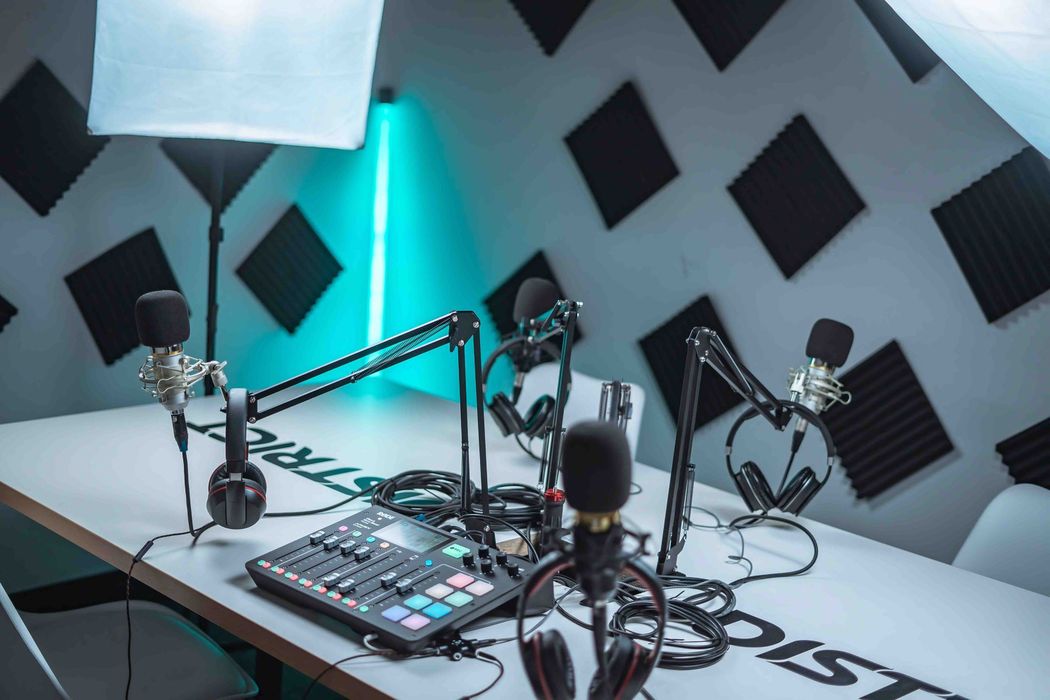
Sound-Treating Your Home Studio
Once you’ve settled on which room to convert into your podcast studio setup, it’s time to think about sound treating it. So what does that actually mean?
Put simply, sound treating is where you work to improve the overall sound quality inside the room. It usually involves fixing things to your walls. And you have a few options here:
Disclaimer: The 3 treatment options below are optional, and sound treating a home studio can quickly become an expensive task. If you don’t have a huge budget to spend, you should be fine as long as your room is quiet, carpeted, and has a low ceiling. If it does, you’re already 80% of the way there.
1. Bass Traps
Bass traps absorb sound waves that typically gather in the corners of a room. They lower the frequency and give you a much smoother audio quality. And because they work to stabilise the overall bass, your recordings will be a lot more consistent.
You can learn more about bass traps in the below video:
2. Absorptions
Absorptions, or more commonly recognised as “those foamy tiles”, reduce echoes and reverb. They absorb the sound waves which hit them, stopping them from bouncing around and reflecting off other objects inside the room. This makes the room’s acoustics quieter, and provides sound with much more clarity.
Check out these handy hacks for fashioning your own absorption tools at home:
3. Diffusers
Like absorptions, diffusers are used to treat echoes and reverb. They’re a specific type of absorption panel, and are typically used to complement the effects of regular ones, like foam tiles. They’re designed to remove sound energy from a room by first diffusing it, and then encouraging it to move around freely. Science aside, diffusers leave behind a very realistic sound.
Learn more about diffusers below:
Recommended Equipment for Home Podcast Studios
Now that we've covered sound treating, we can get to the more exciting part…recording equipment! Below is everything you’ll need for setting up your very own podcast room. We’ve also included some product recommendations picked out by our team of expert podcast producers.
1. A Comfortable Desk and Chair
For obvious reasons, investing in a great desk and chair can make all the difference when recording a podcast. Comfort wise, more than anything. We’d recommend choosing a desk that’s got plenty of depth for your various pieces of equipment, and a height-adjustable chair with a supportive back.
2. A Computer or Laptop
This one’s obvious, but we’ll cover it anyway. Having a decent computer or laptop is key for any podcast studio. It’s what will hold all your files and audio, plus what you’ll be doing your editing on. It doesn’t need to be the best of the best, but it should be reliable, have fast processing speeds, and a good amount of memory.
3. A Digital Audio Workspace (DAW)
This is your digital recording and editing software - the mastermind behind the operation (aside from yourself). It’ll be your best friend in terms of editing, mixing, and fine-tuning your podcast episodes. Investing in one specifically designed for podcasters will make it much easier to produce your show. We’d recommend using one of the platforms below:
Alitu:
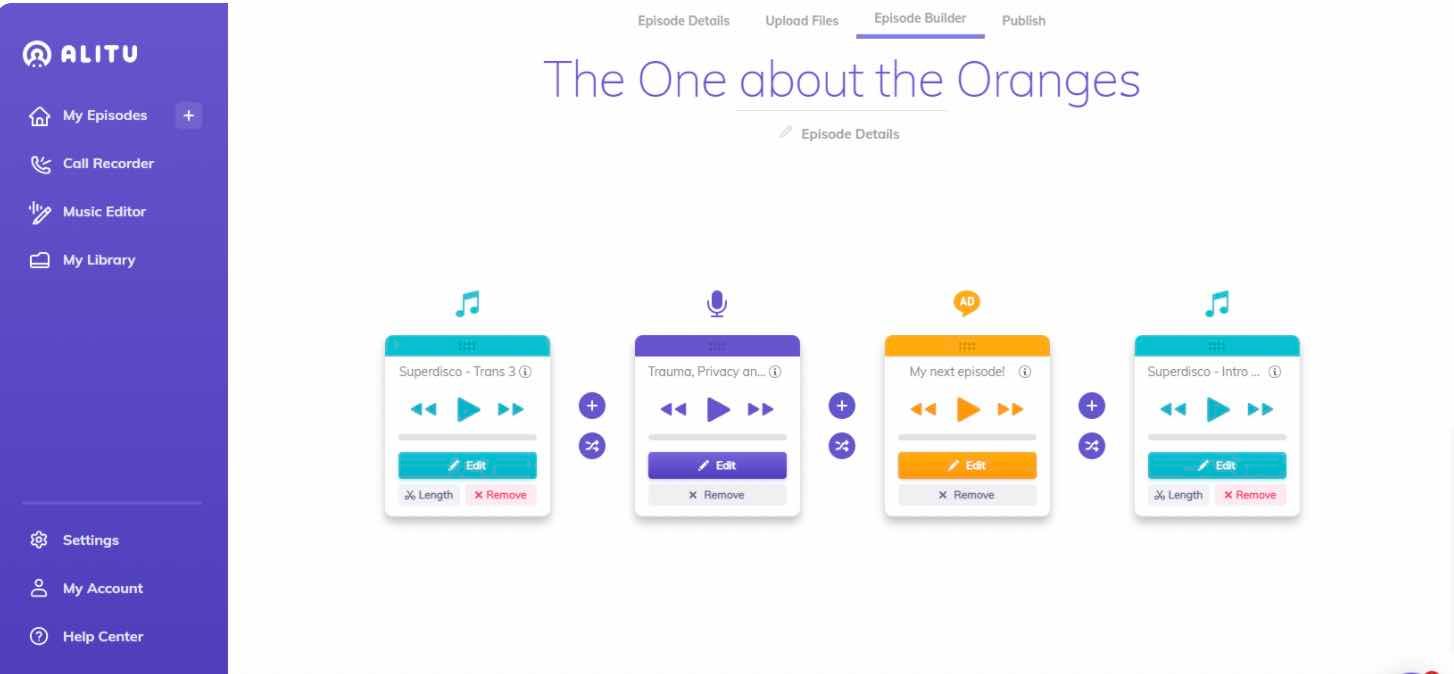
With a simple and easy-to-use interface, Alitu makes recording and editing podcasts a breeze. Simply drag and drop your recordings into the correct slots, add your music, fade it out at the right time, and you’re done. Once your episode is ready to go, you can publish it straight to all the podcast directories with a single click. You can test drive Alitu with a 7 day free trial, and a standard subscription costs $32 or £24 per month.
Descript:
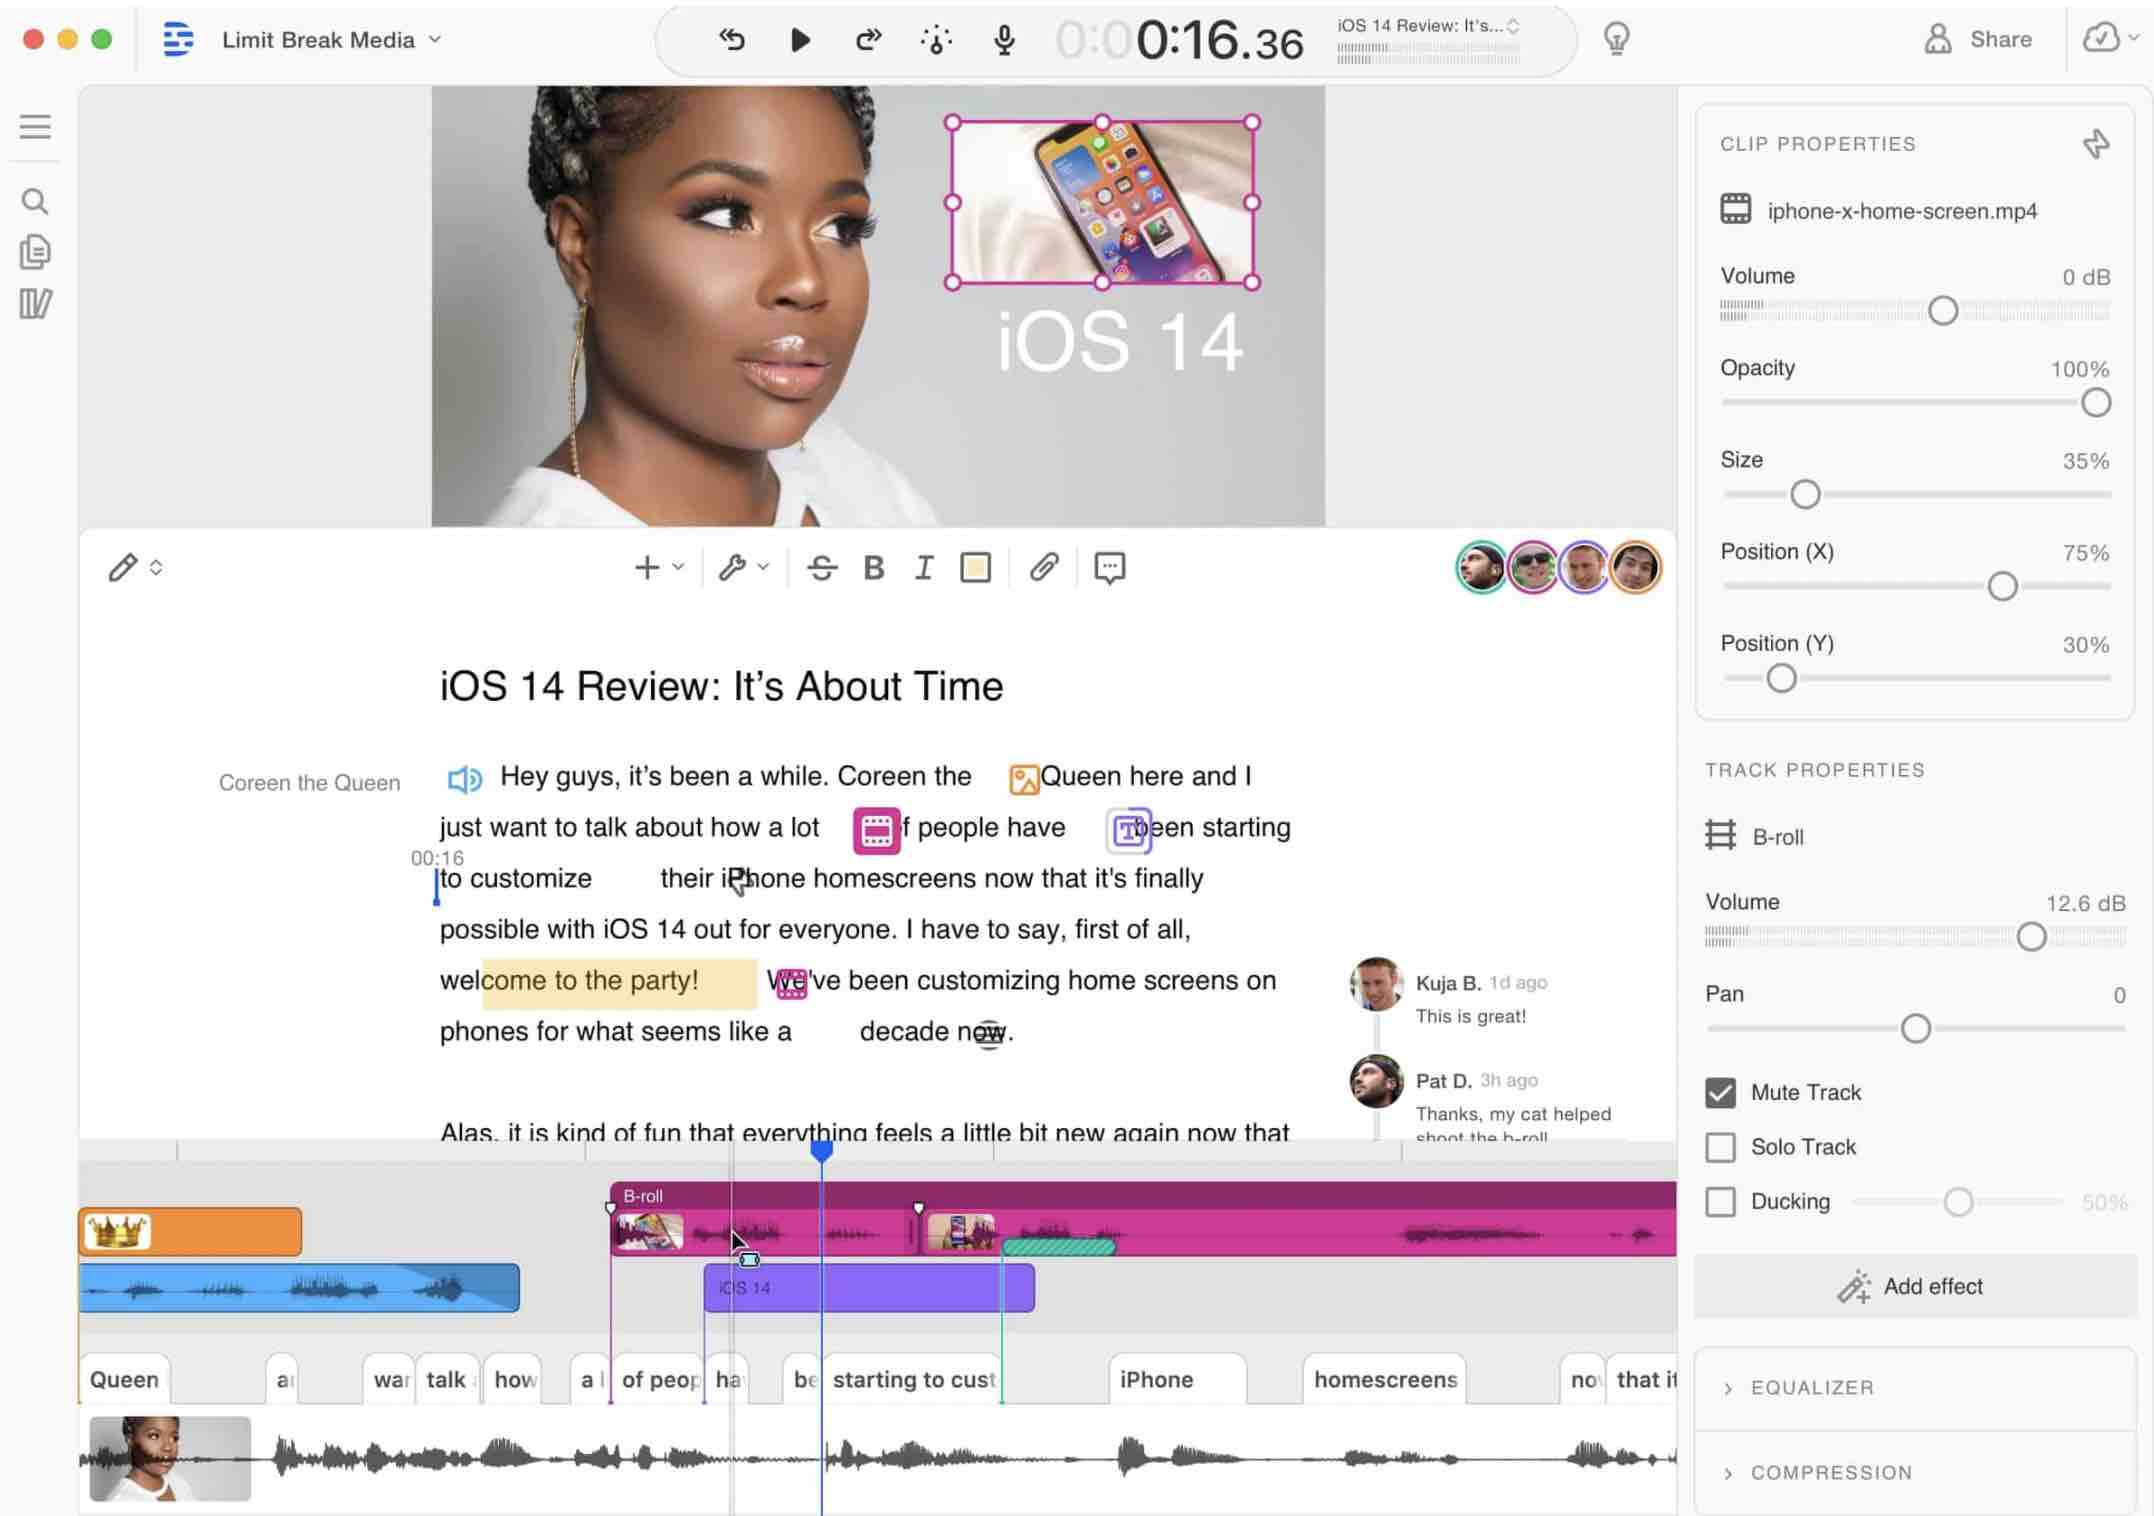
Descript uses the power of AI to enhance podcast recording and editing processes. It gives you the ability to easily edit an audio file as if you were editing a word document. Descript won’t build and publish your episodes for you like Alitu, but if you need to do fine-tuned editing, it gives a greater degree of control and flexibility. A standard subscription costs $12 per month.
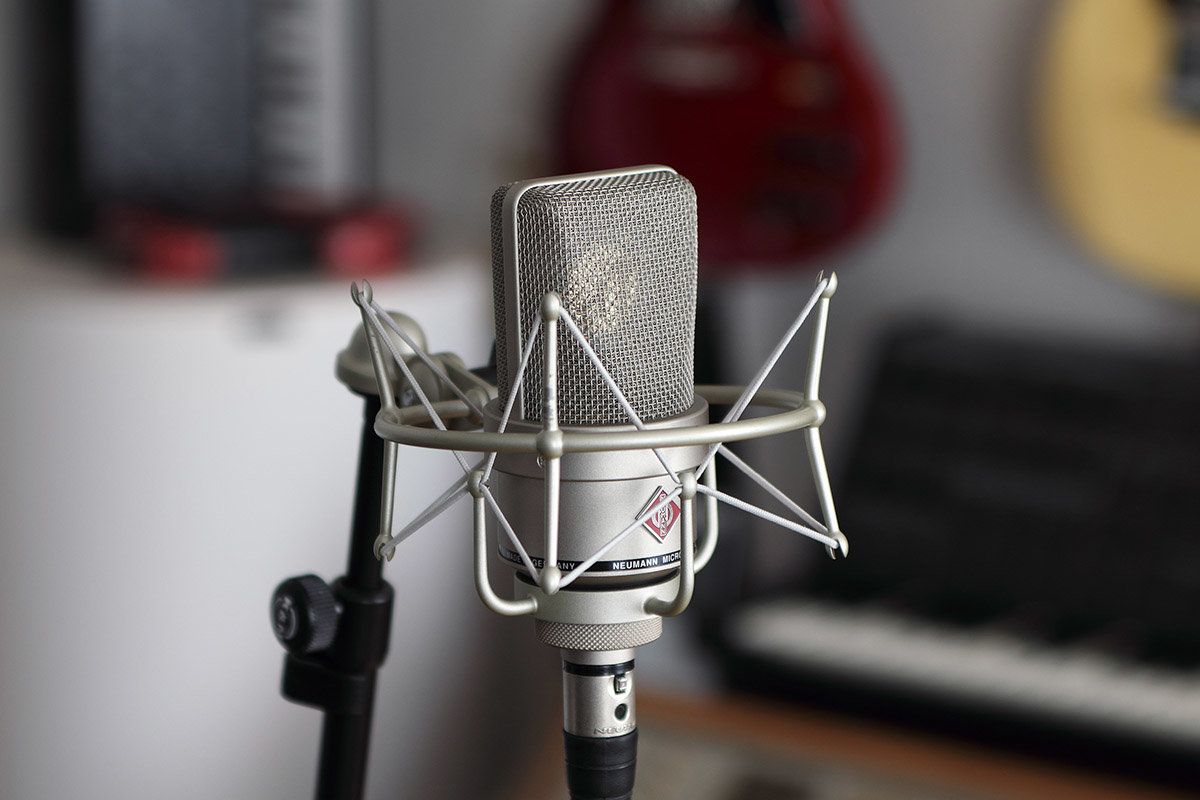
4. Microphones
Podcast microphones come in all different shapes and sizes, so it’s important to find the right one for you. There are two types to choose from - dynamic or condenser.
A dynamic microphone is typically the cheaper option, and much better for home studio set-ups. This is because they pick up less ambient noise. A condenser microphone will cost you a bit more, and is better suited to professional studio settings. They’re a bit more sensitive to ambient noise, meaning they deliver super-crisp and clear audio.
Depending on which type you choose, it’ll either be a USB or XLR connection. USBs plug straight into your computer, and XLRs into your audio mixer. Make sure you check the connection before purchasing, to make sure it’ll be compatible with the rest of your equipment.
Here are the models we recommend:
Rode NT-USB Mini (USB)
Rode NT-USB Mini (Amazon UK, £108)
Rode NT-USB Mini (Amazon US, $99)
Rode PodMic (XLR)
Rode PodMic (Amazon UK, £89)
Rode PodMic (Amazon US, $98)
5. Audio Interface
If you’ve opted for an XLR microphone, you’ll need an audio interface to plug it in to. It basically works to digitalise the audio input, and without it, you won’t be able to transfer your recordings to your computer.
If you have guests on your podcast, investing in one with multiple inputs is handy. This is because it will let you connect more than one microphone at once.
Below is our audio interface recommendation:
Audient EVO
Audient EVO (Amazon UK, £96)
Audient EVO (Amazon US, $129)
6. Audio Mixer
Whilst an audio mixer isn’t a hard and fast necessity, it’s definitely something you’ll need as your podcast progresses. An audio mixer makes it much easier to stay in control of your recordings. They let you manipulate the volume of different microphones mid-recording, so they’re great for shows with multiple hosts or guests.
We’d recommend:
RodeCaster Pro
RodeCaster Pro (Amazon UK, £494)
RodeCaster Pro (Amazon US, $599)
7. Headphones
A good pair of headphones is vital when recording a podcast, as they let you hear what’s actually being picked up. And although you will be able to hear what’s being said in front of you, headphones detect more subtle noises. For example, any background sounds that may affect the quality of your recording.
It’s important to find a pair that’s comfortable, too. You don’t want to be distracted or constantly re-adjusting them during your recording. There are two different types to choose from. A closed-back pair is typically better for recording audio, and an open-back pair is more suited towards mixing and mastering.
The headphones we’d recommend are:
RØDE NTH-100
RØDE NTH-100 (Amazon UK, £136)
RØDE NTH-100 (Amazon US, $149)
8. A Selection of Cables
There’s nothing worse than not having the right cable to hand. Make sure you’ve got a good selection of various cables (XLR and USB) ready to go at a moments notice, just in case you need them.
9. A Microphone Stand / Boom Arm
Adding a microphone stand or boom arm to your equipment list is wise, as they’ll keep your microphone steady and secure during the recording. A microphone stand will sit on the floor, and a boom arm on the desk. They also make positioning the microphone easy, so you’ll be able to find the most comfortable position (whether you’re sitting or standing) without ever having to hunch over. Always a worthwhile investment.
3 Other Pieces of Equipment (Non-Essential)
If you want to go the extra mile and you’ve got the budget to spare, you might want to consider investing in the following bits of equipment. These are completely optional.
1. A Shock Mount
A shock mount fastens onto the microphone. They’re key for stopping knocks, bumps, and vibrations from being picked up in recordings.
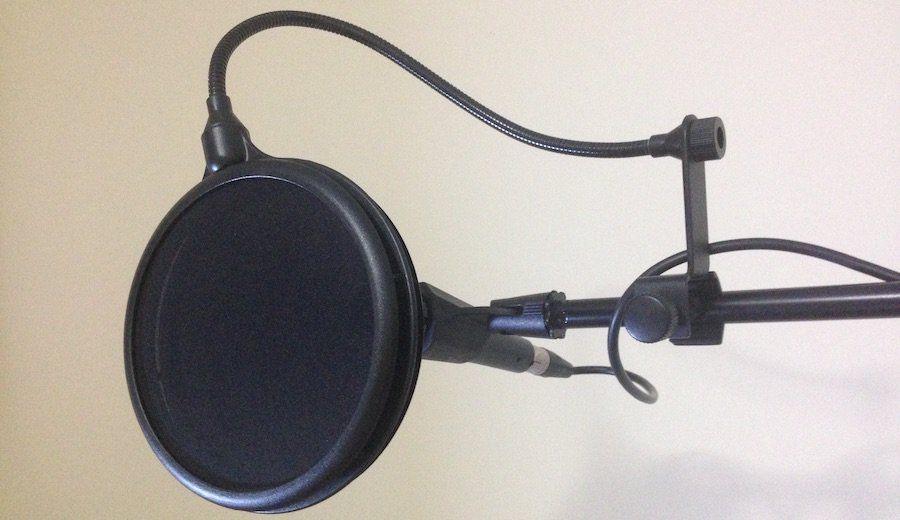
2. A Pop Filter
A pop filter makes plosive sounds inaudible on recordings. For example, words that start with “b” or “p” can trigger a popping sound when you talk. And when this hits the microphone, it creates an abrupt noise. A pop filter will reduce this and soften the overall sound.
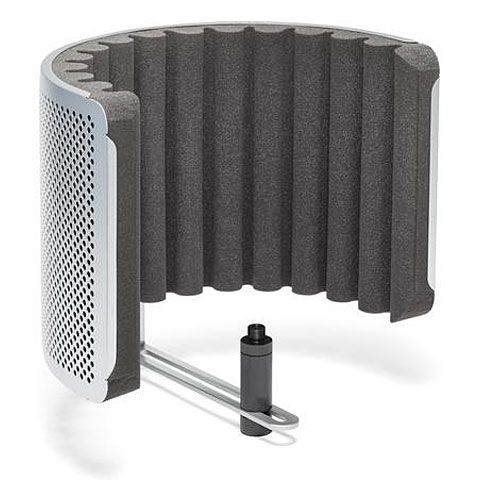
3. A Microphone Reflection Filter
Having a microphone reflection filter is useful for anyone that doesn’t want to sound treat their whole room. It’ll act as a barrier between the microphone, and the areas in your room where unwanted sounds can originate from. Reflection filters are quite big and bulky, meaning they will block your face from view. Because of this, they’re unsuitable for video podcasts.
3 Steps for Setting up Your Home Podcast Studio
Once you’ve got a clear idea of what you need to do, and which bits of equipment to buy, it’s time to actually set up your home studio. We’ll walk you through it in 3 easy steps.
Step 1: Prepare the Space
The first step is to prepare your room for sound treatment. Make sure you clear out anything that’s already in there, like furniture or random objects. Not doing so creates more surfaces for sound to bounce off, which can lead to uneven audio. Try to strip it back as much as you can, and go from there.
Step 2: Sound Treat the Room
You’ll now need to sound treat your studio. This improves the overall quality of sound inside the room. Start by placing a bass trap in each corner. Then, attach your foam tiles (or blankets) to the walls. Lastly, if you’ve invested in diffusers, try placing them as close to the ceiling as you can.
Step 3: Set Up Your Equipment
The last step is to set up your various bits of equipment. That’s your computer, microphone(s), audio mixer, etc. How you set everything up will depend on personal preference, so there are no right or wrong answers. That being said, try to think logically in terms of cable management and general positioning.
So there you have it. Ready to get building?
Hopefully, you’ve got a much clearer idea of how to set up a home podcast studio. Remember that the main thing to think about is which room to convert. Think about where you’ll get the best sound, and how you can work to make it even better. And once you’ve made that initial decision, the rest is pretty straight forward.
The #1 Podcasting Community
With more than 70,000 members, MatchMaker.fm is the largest online community connecting podcasters & guests.
Join MatchMaker today