Keeping your MatchMaker profiles up-to-date is important when it comes to connecting with the right people.
Whether you’re tweaking your “About Me” section, or just altering your listed availability, this handy guide will walk you through the process.
As the process is very similar for both types of profile (guest and show), we’ll use editing your Guest profile as an example in this guide. The same processes apply for show profiles with the exception of one additional step.
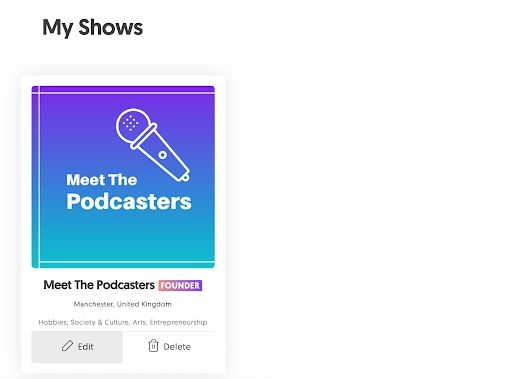
To edit details of your podcast, make sure you select My Shows at the first step, instead of My Guest Profile. This will open up a new window displaying your show(s) - if you have more than one podcast listed on MatchMaker, you’ll see all of them here. Click edit on the show you want to update, then begin making changes.
With that caveat out of the way, let’s get into it.
Editing your MatchMaker Guest Profile
First thing’s first. Make sure you’re logged into your MatchMaker.fm account.
Once you are, click the circle icon in the top right hand corner. This will give you a drop-down menu, where you’ll be able to select either your Guest or Show profiles.
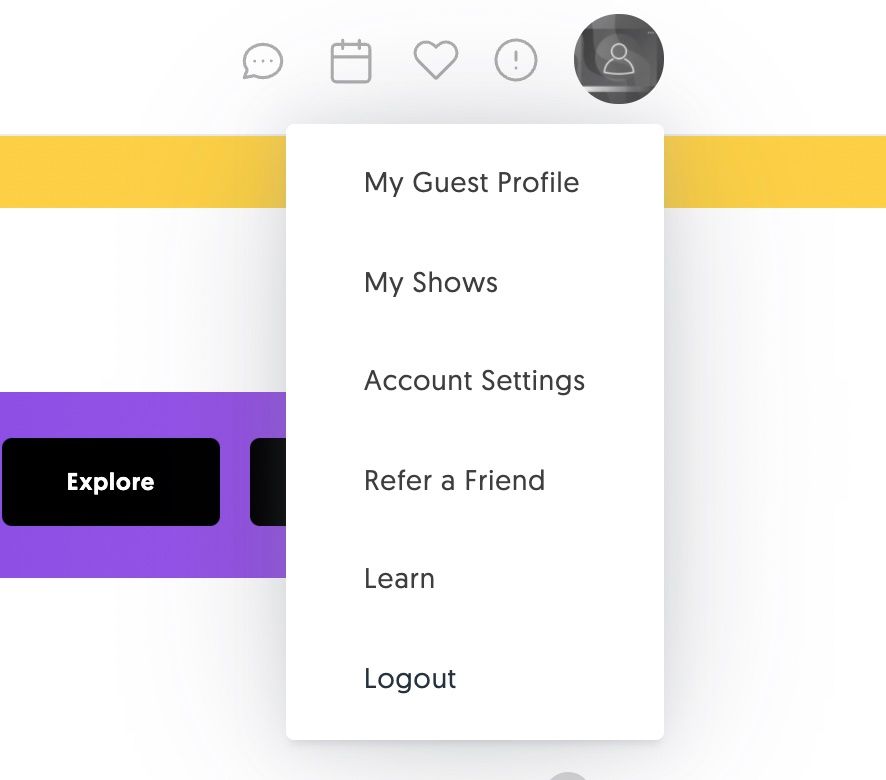
If you select My Guest Profile, your page will look like this:
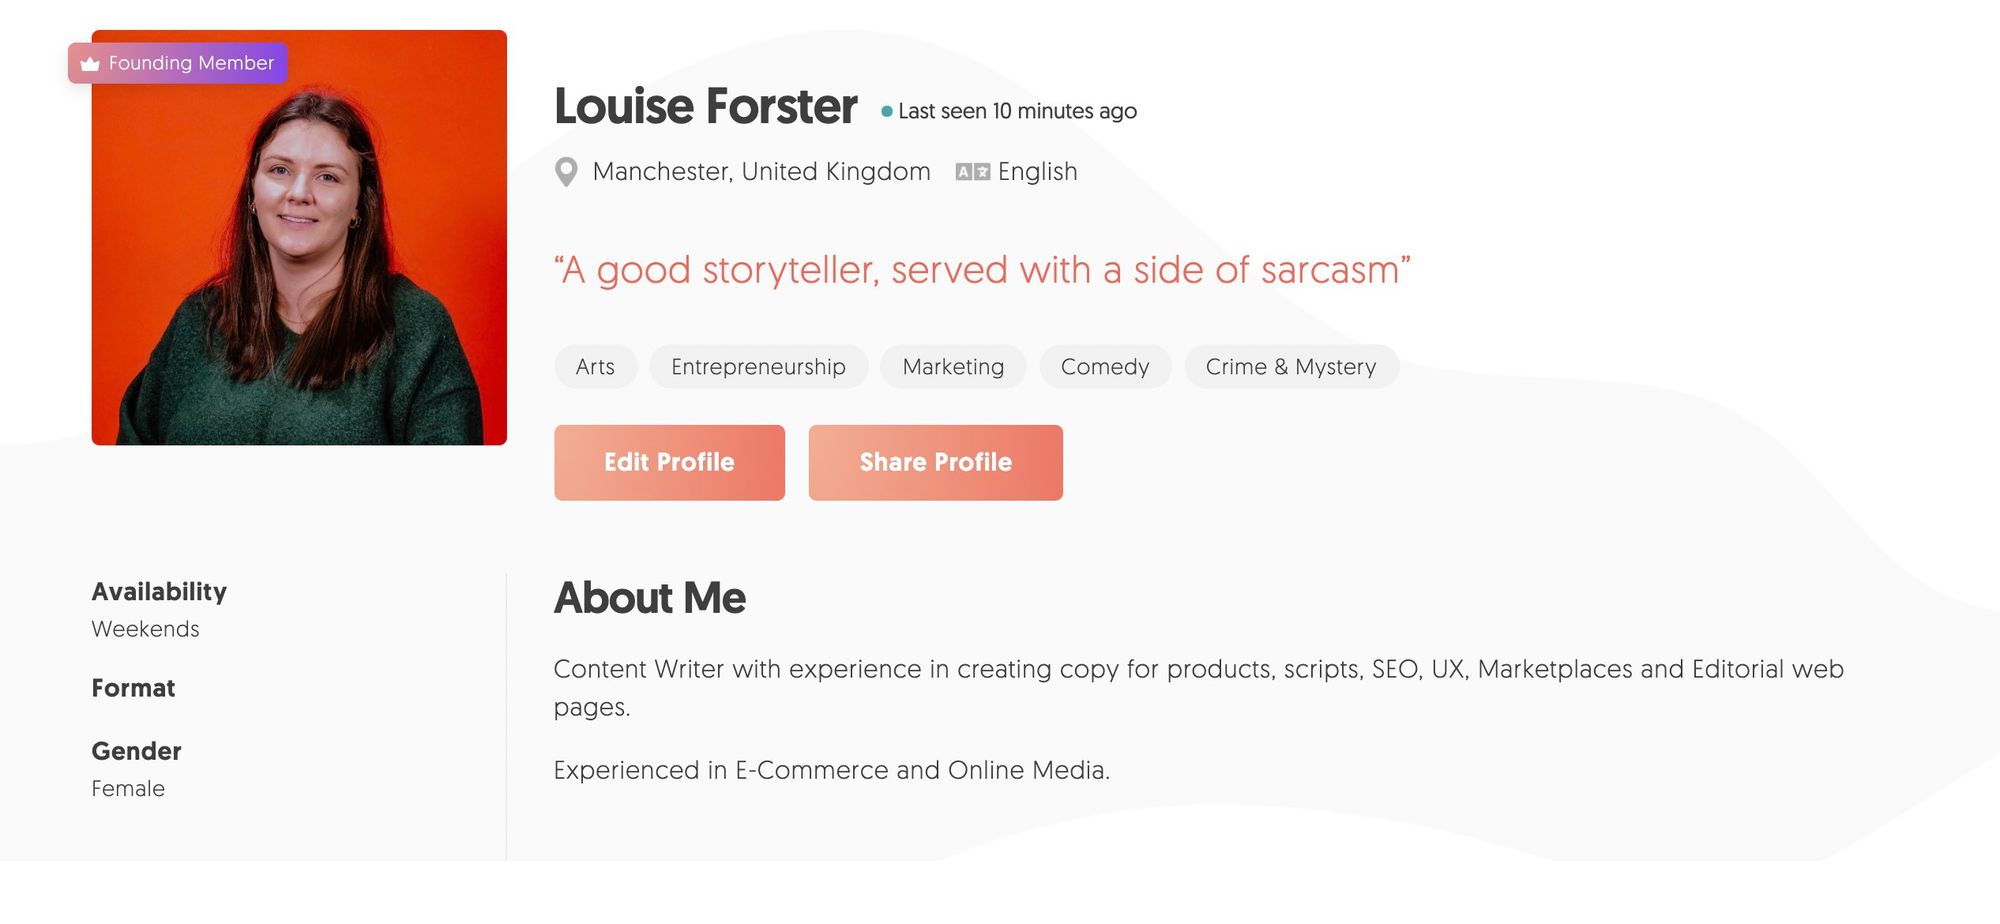
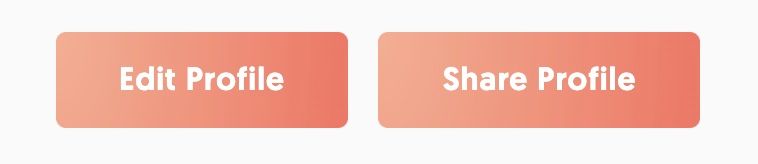
Then just click the Edit Profile button.
You’ll then see the page below. This is where you’ll be able to go through each section of your profile and make your changes.
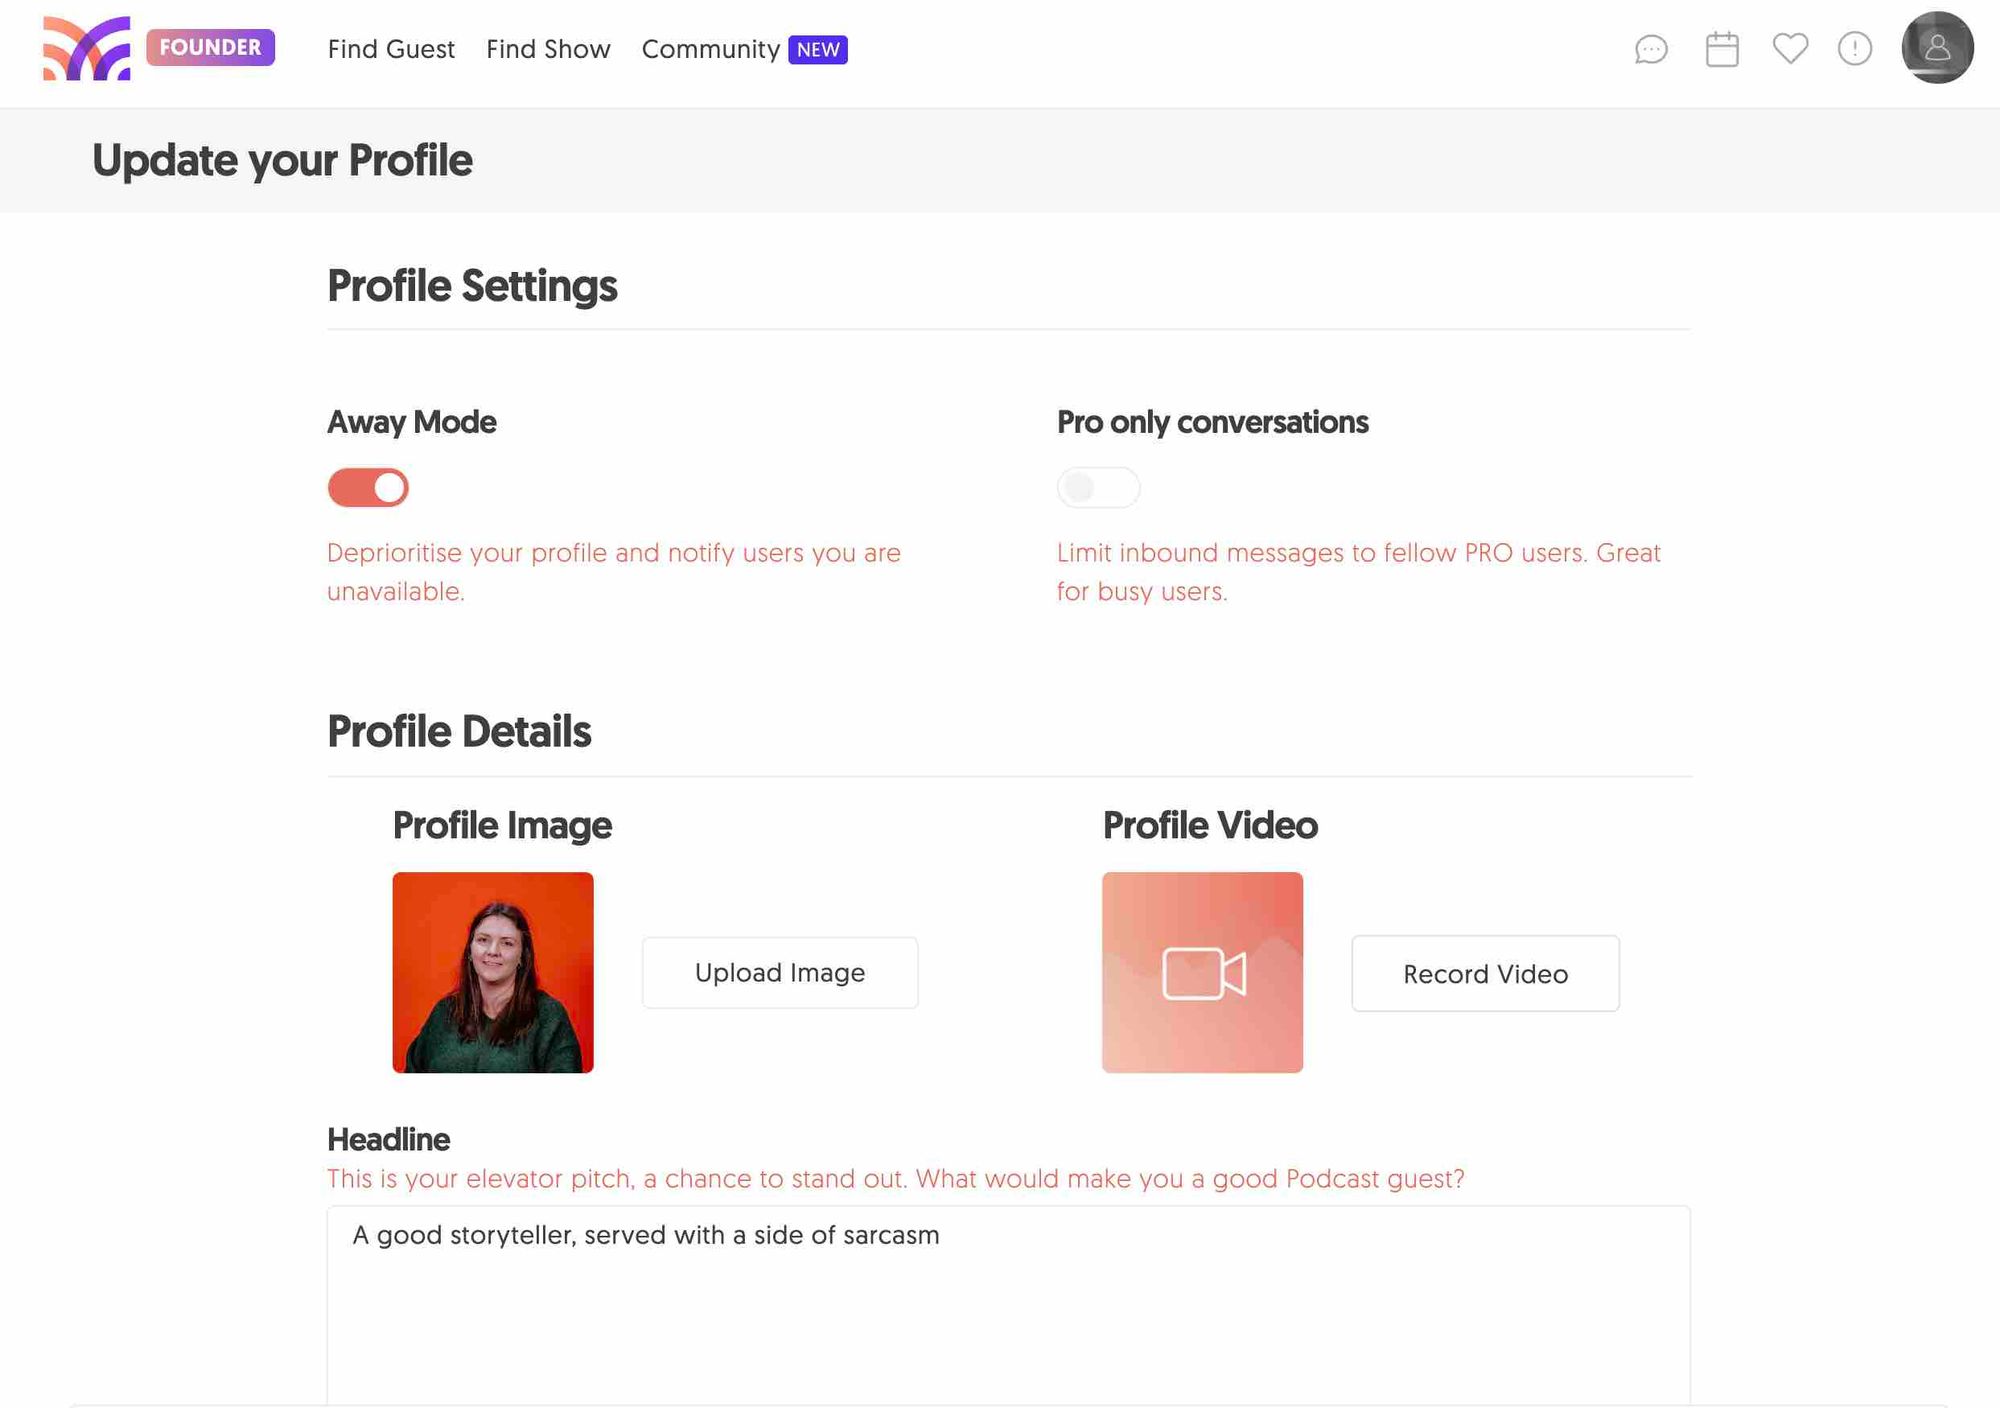
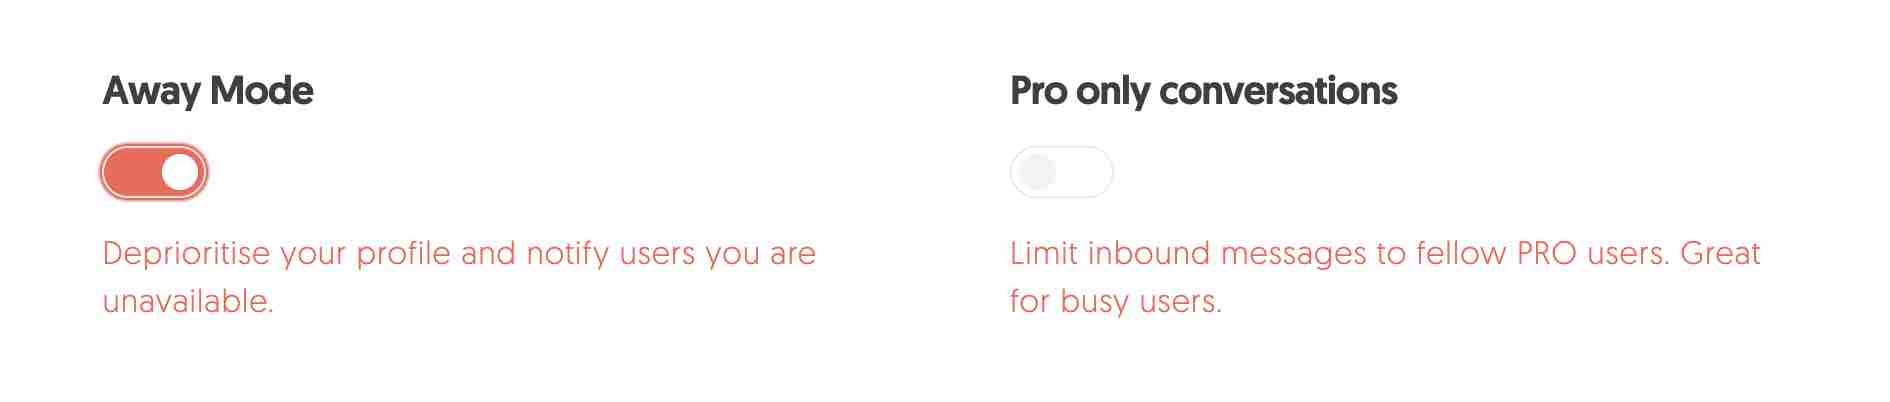
Setting your profile to Away will notify other users that you’re not available for bookings, and you’re not actively appearing on shows. If you are available, make sure the slider is disabled.
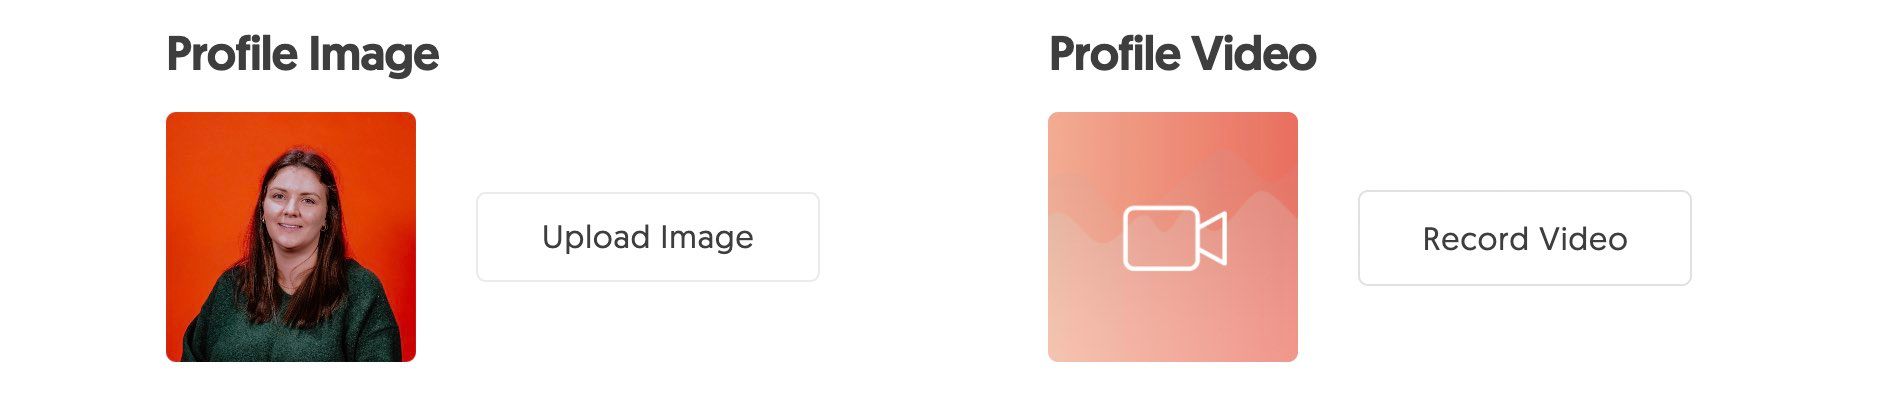
If you want to change your profile picture, all you’ll need to do is select Upload Image. This will present a pop-out window, where you can choose your new photo.
If you’ve signed up to MatchMaker Pro, you can also record a video and upload it to your profile. It’s not compulsory, but a good idea if you’re wanting to give podcasters an idea of your conversation style. By clicking Record Video, you’ll be able to film your snippet there and then. Don’t forget to smile!
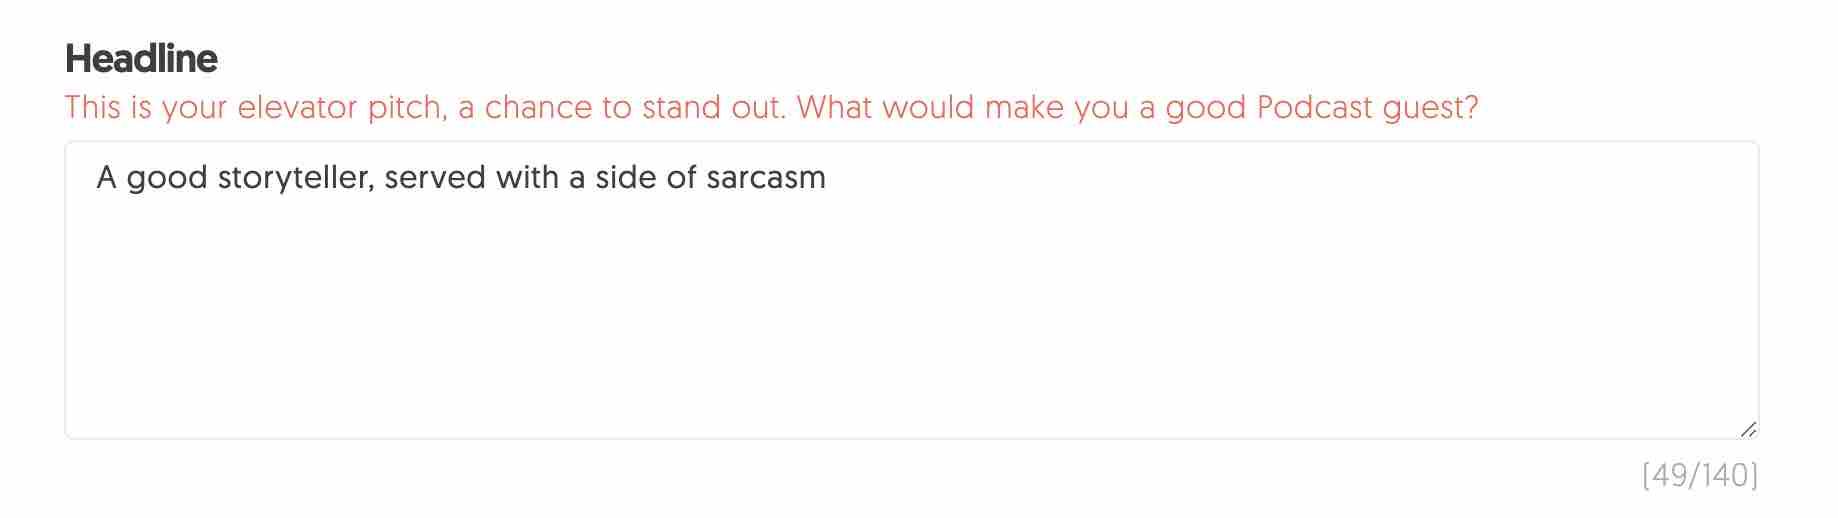
Your Headline is the ideal place to tell the reader why you think you’d be a good guest on their show. To edit it, just type your new text into the box. This will update when you save the changes at the end.
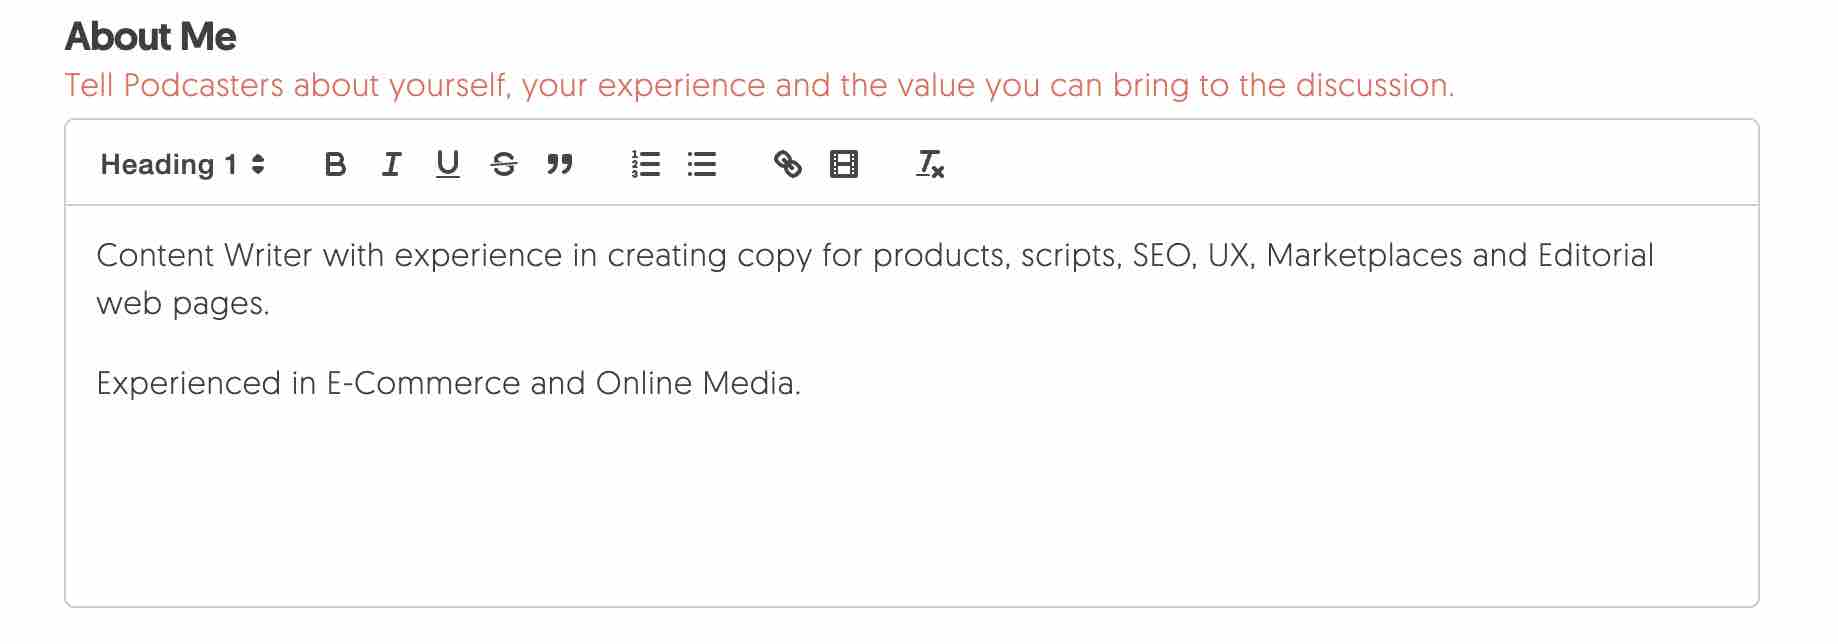
Next is your About Me section. It’s good to give a bit more detail here. Let podcasters know about your background, credentials, and the kind of topics you can talk about during interviews.
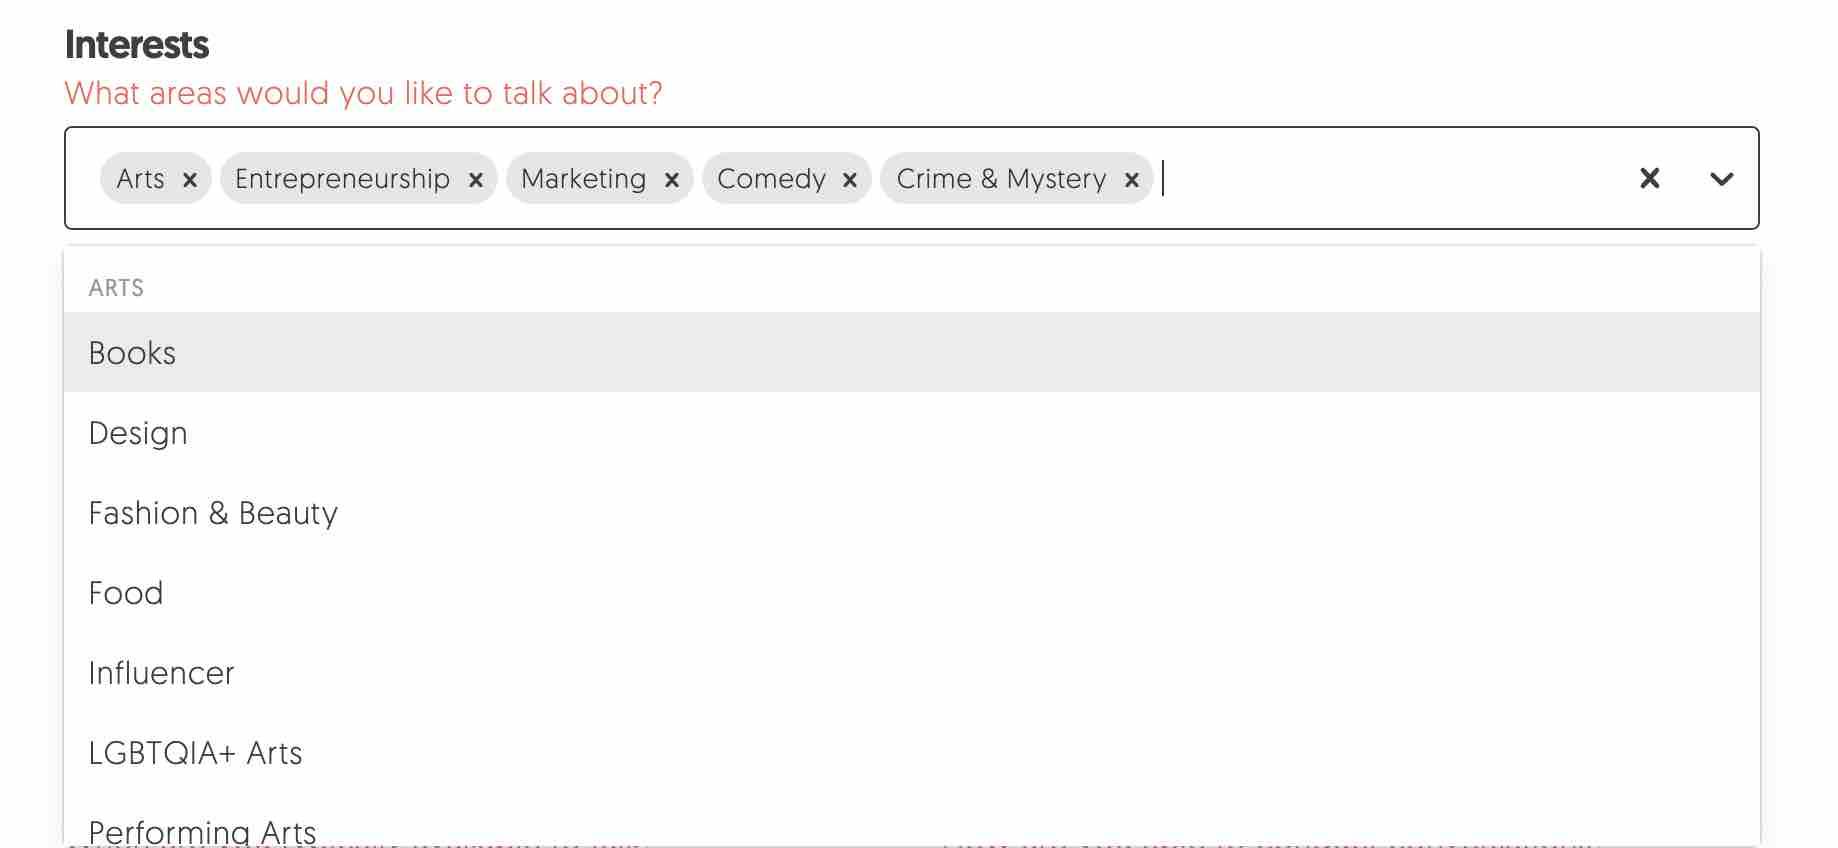
To select a new interest, you can either type a subject into the search bar, or click the drop-down arrow on the right. From there, you’ll see a list of options that you can select. These will save as tags on your profile.
If you want to list any external sources, like a personal website or social media links, you can do that via the boxes below. Just paste your URL into the right spot:

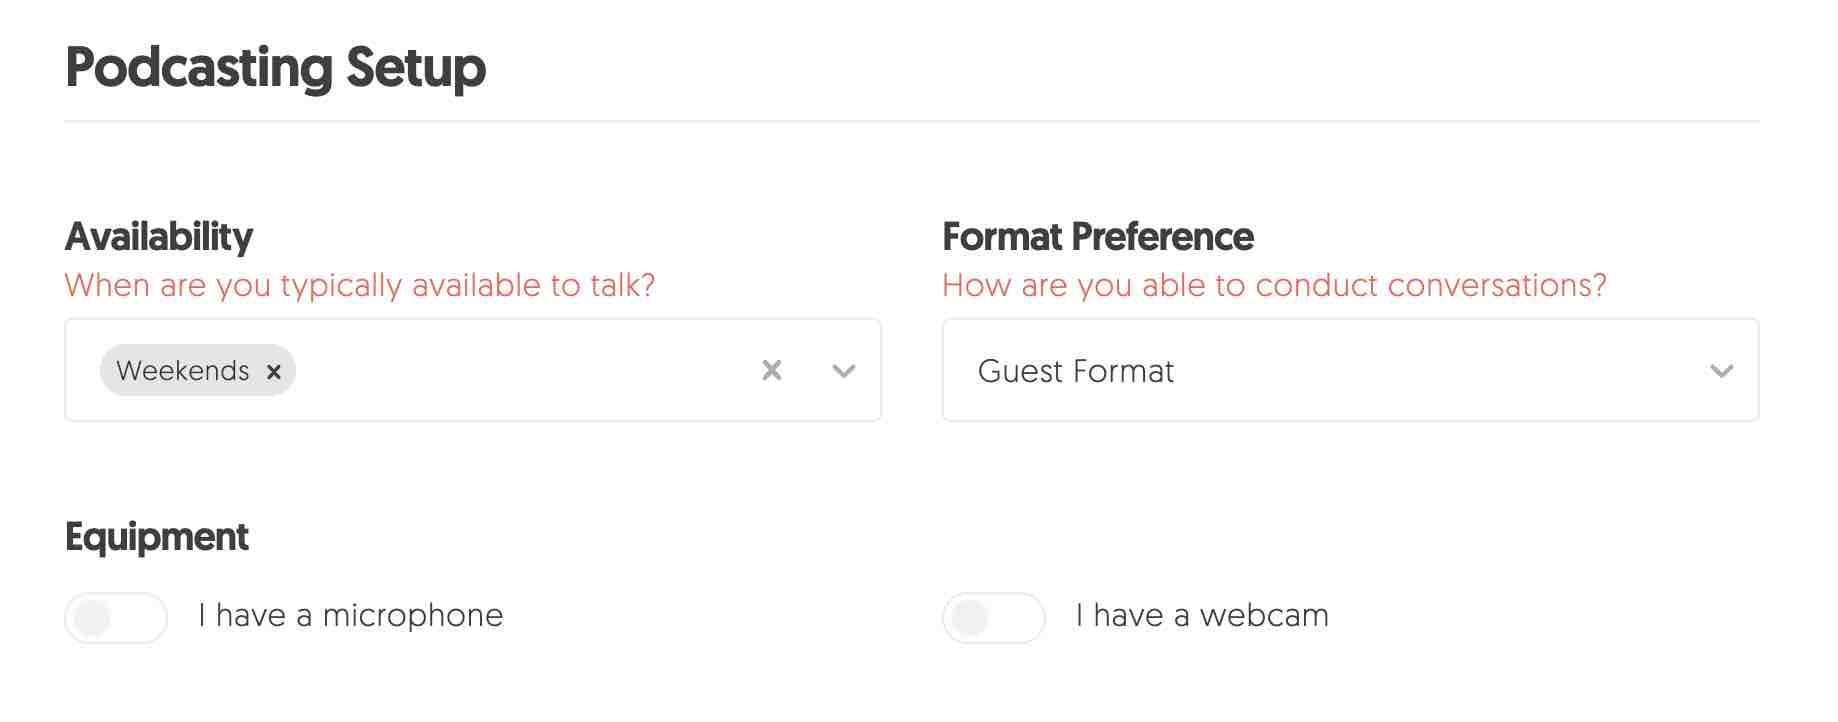
The next section is where you can edit your Podcasting Setup details. To change your Availability, just use the drop-down menu. You can pick the right Format Preference (in-person or remote) using the provided drop-down too.
You can also tell the reader what equipment you have access to. To do this, just use the sliders to indicate a ‘yes’ or ‘no’ answer.
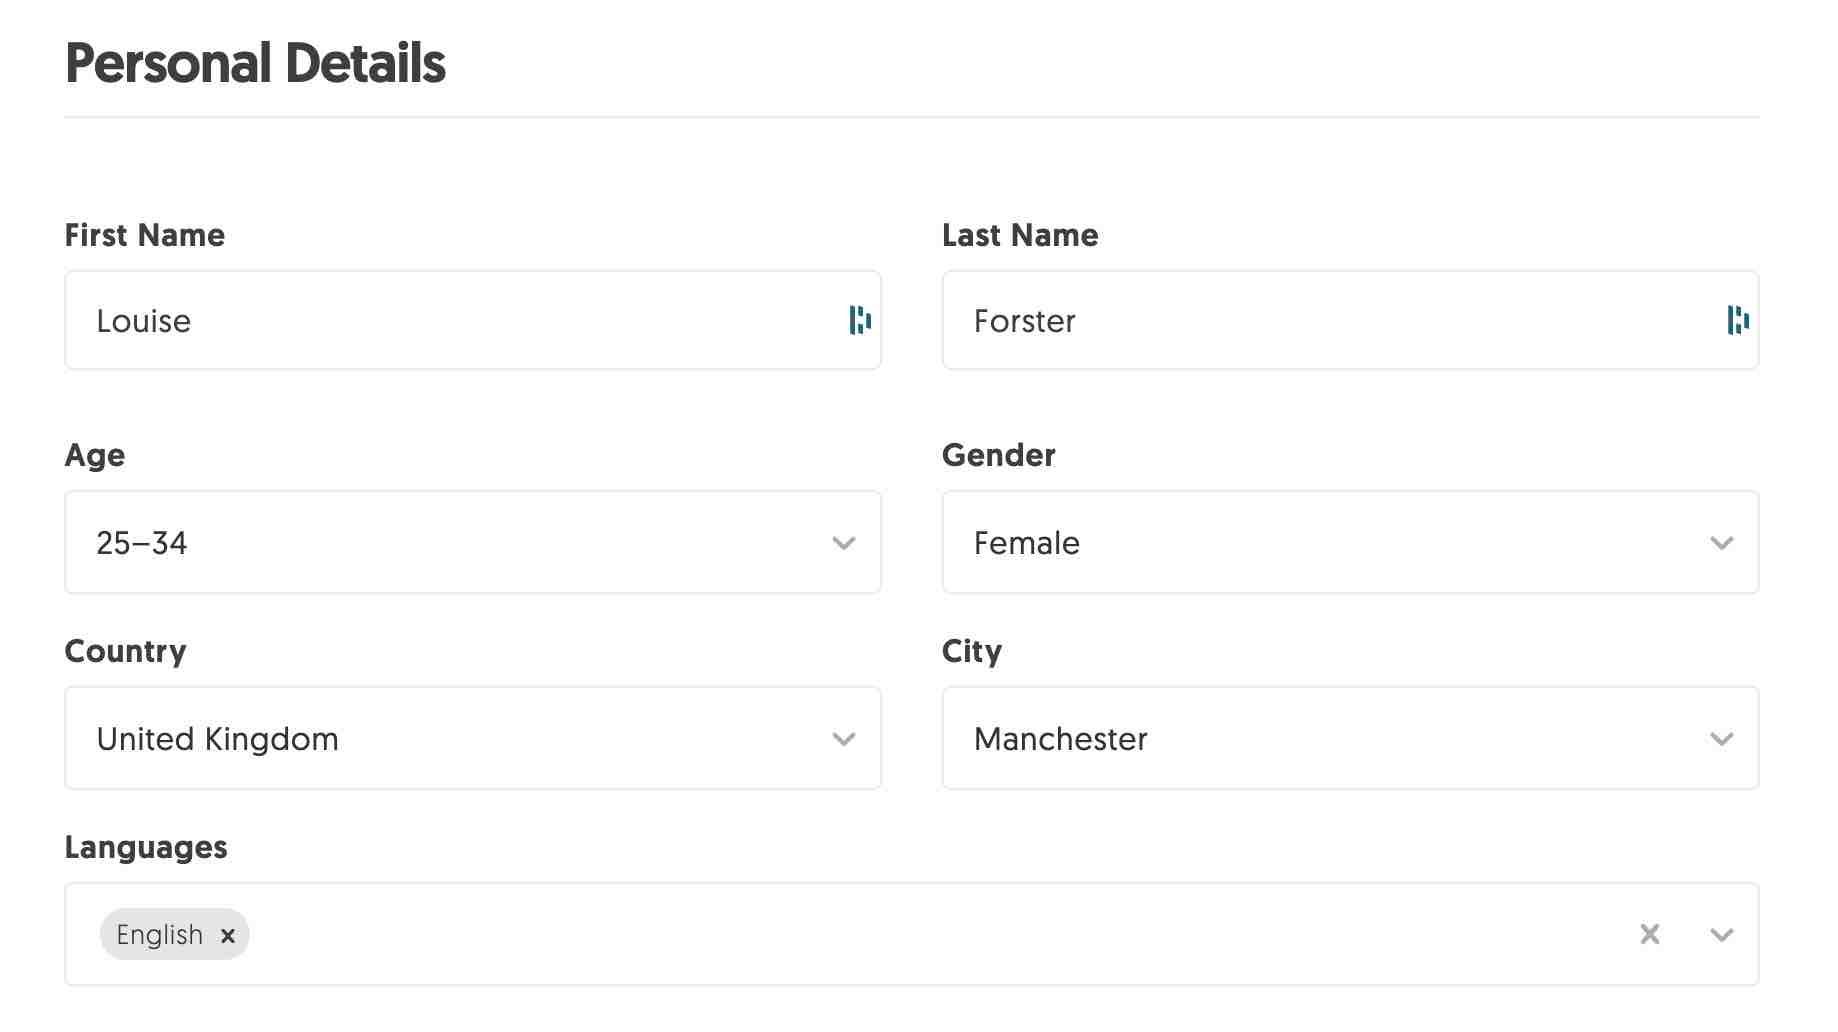
And lastly, if you need to edit your Personal Details, just use the form provided to input your information. This is shown below:
That’s it. We told you it was easy. All that’s left to do is hit Save Changes, and your profile will be updated straight away!